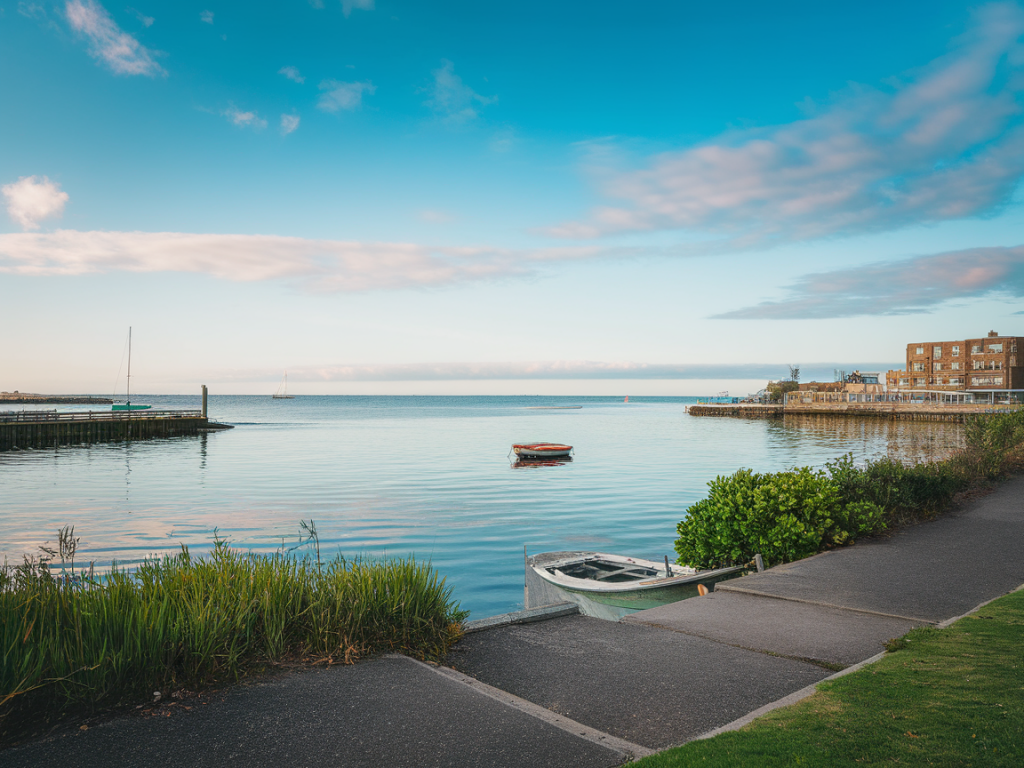
Crossing Morecambe Bay is one of those experiences that lingers: the wide sweep of sand, the clean smell of seawater, the sharp sense of time as the tide moves in. I’ve walked these sands many times and every crossing starts the same way — with careful planning. In this guide I’ll share how I use local ferry timetables and safe landing points to build a responsible, realistic plan for a tidal crossing at Morecambe Bay. I write from experience and from conversations with local guides and rangers, but please treat this as guidance, not instruction: conditions change and the safest option is often to walk with an authorised sands guide.
Understand why local timetables matter
Morecambe Bay is dominated by tides and by channels that can move and shift. Local ferry services and the guided crossings operate to the rhythm of the tide; their timetables are practical windows into when it’s feasible to be on the sands. Using ferry timetables helps you plan arrival and exit points so you don’t rely solely on an arbitrary low-tide time from a general tide table.
Key points:
Start with official tide and safety information
Before you look at ferry times, gather authoritative tide data and local safety resources:
Match ferry timetables to safe crossing windows
Once you have tide times, use ferry schedules to build a crossing window. For a typical crossing you want to:
Example approach:
Choose safe landing points — what to look for
Landing points matter more than distance. I look for:
Always avoid informal or seemingly convenient routes across tidal mudflats where channels are deep and currents can be strong — these areas are often where people get stuck or swept away.
Navigation and route-checking on the day
On the sand you’ll need map, compass and a clear plan. I use an OS map (paper or the OS Maps app) plus a handheld GPS as a backup. Key steps when you’re on site:
Essential kit for a Morecambe Bay crossing
My cross-sands kit balances mobility with safety. I always carry:
| Navigation | Paper map, compass, GPS device/phone with offline map |
| Communication | Fully charged phone in a drybag, portable battery, and a VHF radio if available (ferry operators sometimes monitor VHF) |
| Safety | PLB or personal locator beacon, whistle, headtorch, emergency bivvy |
| Clothing | Waterproof jacket, warm midlayer, gaiters or dry trousers, spare socks |
| Footwear | Sturdy boots or neoprene socks with shoes for wet channels; poles can help with balance in soft sand |
| Extras | Small first-aid kit, thermos, snacks, watch to track the tide window |
When to use a sands guide — and how to book one
I always recommend using an authorised sands guide unless you know the route exceptionally well. The guides are experienced, regularly traverse the sands, and can read channels and quicksands that are invisible to visitors. Search for “Morecambe Bay sands guide” or contact the Morecambe Bay Partnership to find accredited guides. Book early — popular dates and weekend crossings can fill up.
If you decide to go unguided, make your plan conservative: allow large time margins, avoid crossing alone, keep within sight of the shore, and be prepared to turn back if the sands show signs of change.
Communicate your plan and check local updates
Before you set out:
On-foot decision points
When you’re on the sand keep asking simple questions: is my planned exit visible and accessible? Are channels moving or widening? Is the weather changing (visibility, wind shift)? If the answer is no or you’re unsure, pause and reassess. Some of the safest decisions on Morecambe Bay are the ones that send you back to higher ground for another day.
Crossing Morecambe Bay well is a combination of preparation, respect for local knowledge and conservative decision-making. Use ferry timetables not as a convenience but as a planning tool that reveals safe windows and reliable landing points; layer that knowledge with tide tables, maps and, where possible, an authorised guide. If you’d like, I can help look up the latest resources, suggest potential landing points for a specific route, or point you toward trusted local guides.