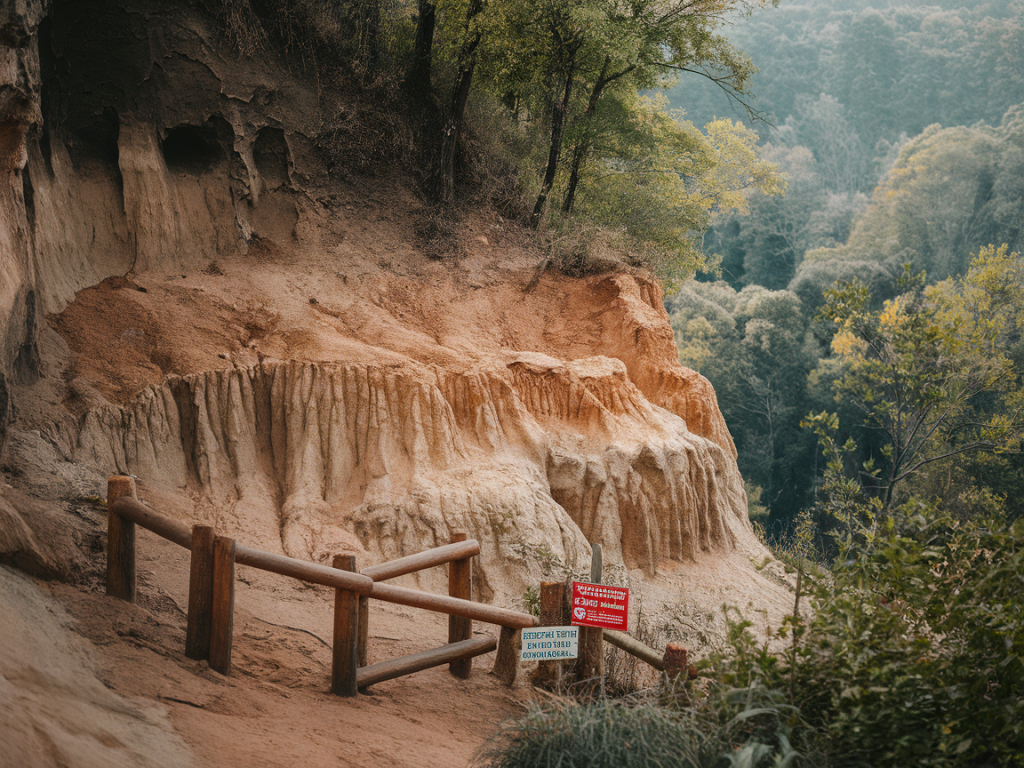
I've spent countless hours walking cliff-tops and coastal margins, watching the edge of land reshape itself with wind, rain and the odd heavy tide. Over the years I've learned that spotting early signs of cliff erosion — before a path collapses or a fence is lost — can make a real difference. Local volunteer groups and land managers can often carry out targeted repairs or protective work if they have accurate, timely information. Below I share how I look for small erosion patches, document them effectively and report to volunteer groups so repairs can be prioritised and carried out safely.
Why early reporting matters
Minor slumping or a small undercut might look innocuous, but these patches often grow quickly during stormy seasons. An unnoticed weakness can turn into a large collapse that endangers walkers, severs access routes or damages habitats. Volunteer groups — whether a parish council, National Trust wardens, or a community coastal group — rarely have unlimited resources. My reports aim to be concise and actionable so they can decide fast whether a site needs monitoring, temporary signage or repair work.
What I look for on a first pass
When I'm walking a coastal route I scan the cliff edge and the vegetation line for subtle clues. I watch for:
These signs are easy to miss if you only look at the obvious breaks. I make a habit of circling potential trouble spots at a safe distance to see them from different angles.
Prioritising safety
Safety comes first. If a patch looks unstable I don't approach the brink. I use binoculars or a zoom lens to examine details from a safe distance. I carry a lightweight walking pole and sometimes a small length of bamboo or a telescopic pole to probe soft ground without putting myself in harm's way. If the erosion is immediately hazardous — a recent fall or a cliff that has crumbled underfoot — I call the emergency services instead of a volunteer group.
Photographing and documenting effectively
Photos are the most valuable part of any report, but poor images can be useless. I follow a simple approach to make my photos count:
- Apps I use: the native camera app (iPhone or Samsung), and sometimes Photo Investigator to check metadata. For mapping I use what3words and OS Maps or a Garmin watch for a backup grid reference.
Information to include in your report
Volunteer groups are busy; give them the facts that matter. My template includes:
Here’s a short sample sentence I use in emails: "Observed 1.5m linear crack 2m inland from path; ~0.6m deep undercut at cliff base; location Lat 53.12345 Lon -2.12345 (what3words ///coast.view.cliff). Photos attached (IMG_1234–1236). Please advise if group can monitor or arrange temporary fencing."
How to contact and work with volunteer groups
Find the right contact first. Local councils, parish clerks, National Trust wardens, or coastal volunteer groups usually have an email or phone number listed online. I keep a small list for my common areas and use it when reporting. When you contact a group:
When to leave it to professionals
Some situations are beyond the remit of volunteers: large collapses, exposed utilities, or rapidly changing cliffs. If you see a recent large fall or if boundary fences have been undermined and there are injuries, call the emergency services immediately. If a collapse affects an access road or property, the local authority or highways team should be contacted.
Tools I carry
| Item | Use |
| Smartphone (iPhone/Android) | Photos, GPS, what3words, instant email |
| Compact tape measure or walking pole | Provide scale and probe soft ground |
| Binoculars | Examine scarp face from a distance |
| OS Maps / What3words app | Precise reference for reports |
| Notebook and pen | Quick notes when phone battery low |
Practical examples from the field
On one winter walk I noticed a thin, fresh crack running along a coastal path; it was almost invisible from the main route. I photographed it from three angles, recorded the coordinates and emailed the local volunteer group. They inspected two days later, put up a short temporary barrier and rerouted a few metres of footpath. If I hadn’t reported it early, the path might have collapsed into the sea during the next storm season.
Another time I found a small undercut at the base of a clay cliff that had been rapidly enlarging due to a newly diverted drainage channel. My photos showed the channel and the undercut; the volunteer group worked with the landowner to re-establish proper drainage and planted native grasses to stabilise the slope.
Final practical tips
Reporting early is a simple action that helps protect access and conserve fragile coastal habitats. With a few careful photos, a clear location and a short description, you can turn a casual walk into meaningful conservation support for your local shoreline.