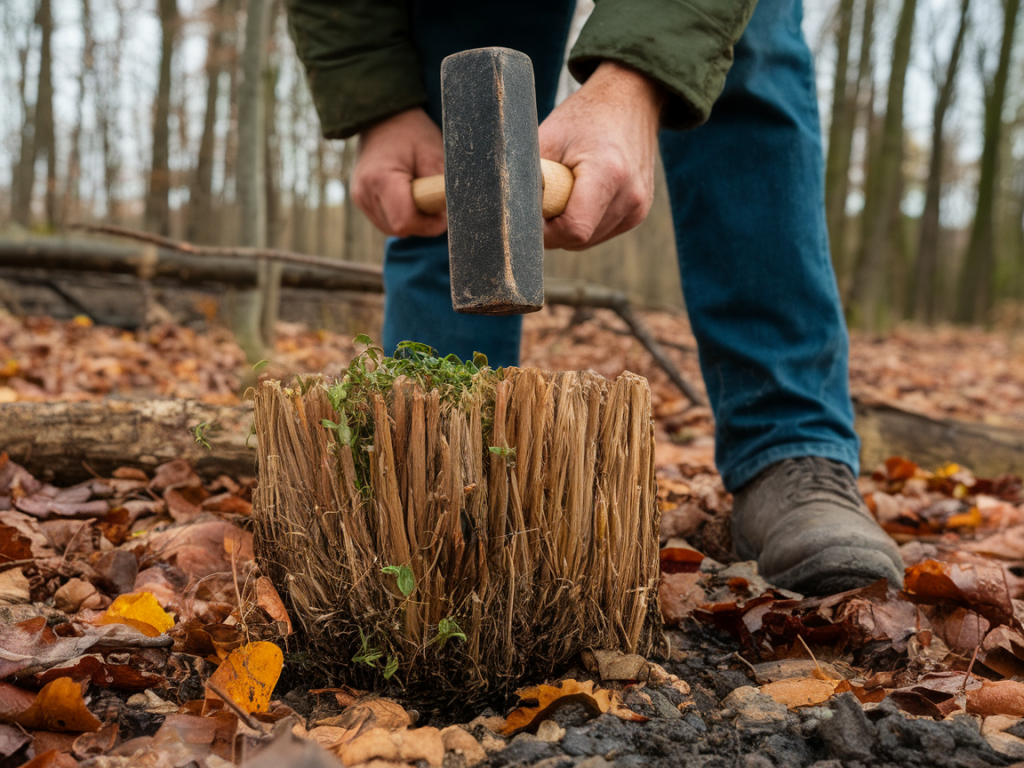
On a damp morning on the uplands, I found myself crouched beside a small eroded channel where water had cut a neat V into a peat hag. It wasn't dramatic — just the kind of slow, persistent erosion that, left alone, can widen and deepen until a whole patch of blanket bog starts to unravel. That day I made a simple, low-cost peatland plug using jute, coir and live sphagnum. It was a hands-on way to slow the flow, trap sediment and give mosses a foothold. If you’re a volunteer or a walker wanting to help repair small peat erosion features, here’s how I do it — step-by-step, with practical tips based on wet-field experience.
Why use jute, coir and sphagnum?
Peatland repair is best done with materials that are biodegradable, breathable and compatible with the site’s hydrology. Jute and coir satisfy those requirements: they slow water, trap seeds and sediment, and break down over months to years while plants establish. Adding live sphagnum (either fragments or small plugs) accelerates recovery because sphagnum is a peat-forming moss that retains vast amounts of water and helps rebuild peat structure. The combination is cheap, lightweight to carry on foot, and effective for small-scale repairs where heavy machinery isn’t appropriate or permitted.
Permissions, timing and safety
Before you touch peat, check land ownership and statutory protections. Many bogs are SSSI, SAC or protected under other designations — get permission from the landowner or land manager (ranger service, NGO, or council). Avoid working in nesting season for ground-nesting birds (usually spring to midsummer) unless you have explicit permission and guidance.
Timing matters. I prefer late autumn to early spring: the ground is damp, sphagnum is less stressed, and vegetation is dormant so we avoid trampling sensitive plants. Avoid working in the height of summer drought or when the bog is frozen solid (ice can make fragile peat crumble underfoot).
Wear appropriate kit: waterproof boots with good grip, gaiters, gloves (nitrile or gardening gloves), wet-weather layers, personal locator (phone or radio), and a compass or map. Work in pairs at minimum and carry a small first-aid kit.
What to bring
If you’re buying materials, brands I’ve used include natural-fibre jute hessian from landscaping suppliers and coir erosion control rolls sold under garden or civil-works labels. Avoid synthetic geotextiles — they can trap heat and prevent vegetation from colonising properly.
Site assessment and design
Stand back and read the feature. Is it a narrow gully, a shallow rill, or a wider scarp face? The aim is to slow flow, spread water across the surface and allow peat-forming plants to recolonise. For a small channel (30–60 cm wide) I use a single plug oriented across the flow; for wider features I build a series of stepped plugs to create a cascade of small bog pools.
Key considerations:
Step-by-step build for a single peatland plug
Harvesting and planting sphagnum responsibly
Only harvest sphagnum with permission and from donor sites designated for extraction. Never strip intact carpets: collect small plugs (<10 cm across) or fragments by gently teasing moss away. You can also obtain cultivated sphagnum from restoration groups — many projects propagate Sphagnum palustre or S. papillosum for reintroduction.
When planting, aim for contact with moist substrate; sphagnum fragments thrive when they can root into peat or coir. Keep them shaded initially and avoid trampling. If you’re working with volunteers, teach gentle handling: sphagnum plants are delicate but resilient when placed correctly.
Aftercare and monitoring
Check your plug after heavy rain and after a few weeks. Look for movement, scour around the edges, or unintended pooling that could erode adjacent peat. Replace or reinforce with extra jute and sphagnum if necessary. Over the first 2–3 growing seasons you should see increased moisture retention, some peat-colonising plants reappearing, and the plug gradually integrating into the peat profile as the jute and coir decay.
Record changes in photos and simple notes: water depth upstream, percent cover of living sphagnum on the plug, and any signs of trampling. Pass your findings to the land manager — local NGOs and restoration bodies appreciate volunteer monitoring data.
Common problems and troubleshooting
Ethics and restoration thinking
Small, well-placed volunteer plugs are a pragmatic tool, but they’re not a substitute for large-scale rewetting where ditch-blocking or revegetation at landscape scale is required. Think of these repairs as local triage: they stabilise vulnerable patches, reduce sediment loss and buy time for broader restoration. Always co-ordinate with land managers so your efforts complement any larger plans.
On my best days out on the bog, the satisfaction comes not just from stopping a trickle of water but from planting a handful of sphagnum and knowing — quietly, methodically — that you’ve helped a marginal place make its first step back towards health.