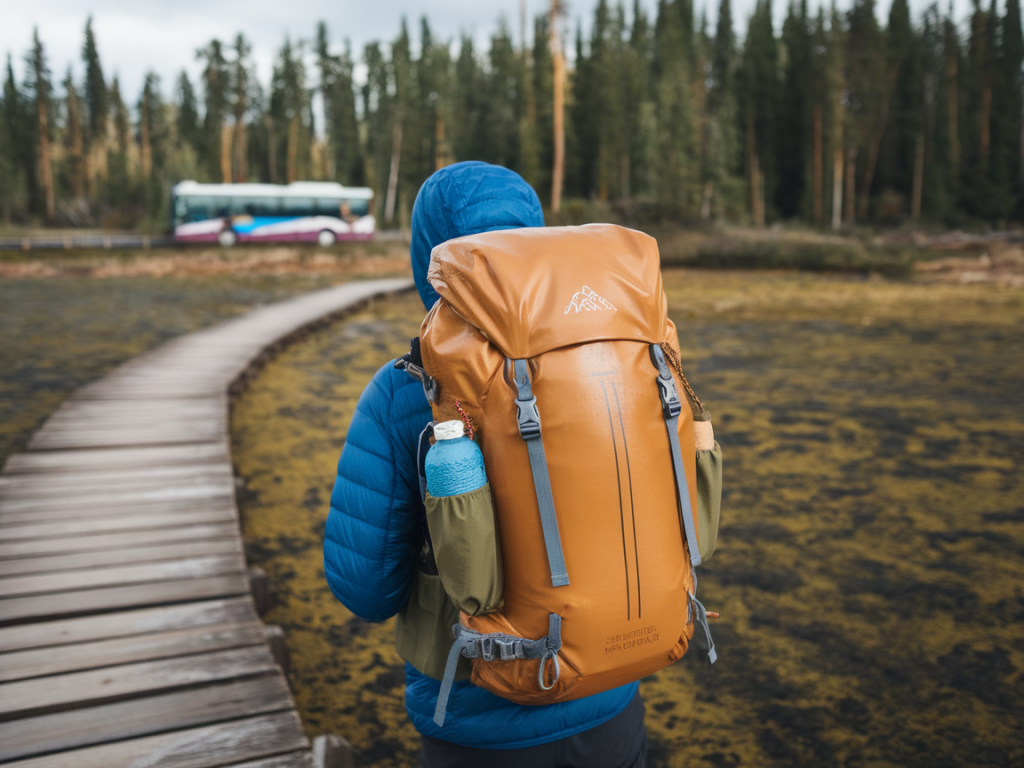
Why a waterproof pack system matters for peatland day hikes
Peatlands are beautiful, fragile and, frankly, very wet. I've spent countless days crossing blanket bogs and coastal peat margins where water finds every seam and seam finds every weakness. On a short day hike with a public transport resupply — a bus stop, a small village shop or a train station at the route's midpoint — the pack isn't just a container: it’s a little mobile ecosystem that must keep food, layers, camera gear and navigation dry and accessible.
Choosing a lightweight waterproof pack system means balancing three things: true water protection, low weight for long miles, and usability when changing transport modes. I prefer systems that let me grab a resupply at a bus stop without turning my pack into a dripping, muddy burden.
What I mean by “pack system”
When I say pack system I don't only mean the backpack itself. The system includes the outer pack (fabric, zips, lid), internal drybags or liners, any rain cover, hipbelt pockets, and small waterproof pouches for items you want quick access to. A well-considered system layers protection — a waterproof pack shell plus organised drybags — rather than relying on a single “waterproof” claim.
Key features I look for
These are the practical attributes that separate a pack I trust on peatlands from one I don't:
Materials: what to choose
My go-to choices are laminated fabrics such as Dyneema or X-Pac for the outer shell when weight and waterproofing are priorities. They resist abrasion from tussocks and are inherently waterproof. Durable coated nylons (with taped seams and a roll-top) work well, too — they’re cheaper and often more repairable in the field.
Note on DWRs: a Durable Water Repellent finish keeps surface spray off the fabric but doesn’t stop water getting in through zips or at seams. Rely on structure (roll-top, welded seams, liner) for true waterproofing.
Closure styles: roll-top vs. lid vs. zip
For peatland conditions I lean towards roll-top packs. They are simple, inherently waterproof when rolled correctly and usually lighter. Roll-tops combined with an internal liner give me the confidence to cross wet ground without fretting constantly about a sudden squall.
Lid-top packs (traditional hiking packs) are versatile and allow faster access to snacks and maps — handy at a resupply. But lids create a junction that can leak if the fabric relaxes or the lid’s straps aren’t tensioned. If you choose a lid pack, look for one designed with water sheds or a removable lid that doubles as a daypack.
Waterproof zips are attractive, especially for quick access pockets, but they are heavier and can jam with grit from peat. I use packs with minimal external waterproof zips and protect internal zips with drybags.
How I organise my waterproofing layers
My system is layered, from outermost to innermost:
Capacity guidance (day hikes with public transport resupplies)
| Pack Capacity | Typical Use | Comments |
|---|---|---|
| 15–20 L | Short day hikes, minimal camera kit, frequent resupplies | Light and nimble. Limited spare clothing space — rely on resupply for lunch. |
| 20–30 L | All-day peatland walks, basic camera kit, waterproof layers | Sweet spot for most of my peatland days out with a mid-point shop or bus stop. |
| 30–40 L | Longer days, full camera kit, extra layers, or if resupply points are sparse | Higher weight but more versatile. Choose well-ventilated harness for comfort. |
Practical tips for public transport resupplies
Hopping off a bus or train to top up food or change socks is a routine I plan for. Here’s how I make it quick and dry:
Brands and specific pieces I’ve used
I often mix and match. A few items that have held up well for me:
Field habits that protect your kit
Beyond the gear itself, the way you treat it matters. I avoid sitting a pack directly on obvious wet holes, I use a dry seat (a closed waterproof liner or groundsheet) during breaks, and I never store electronics in side pockets where spray is likely. Small habits reduce the need for heavy waterproofing.
Finally, remember repairability: on remote peatlands a throwaway pack that can't be repaired is a liability. Carry a little repair kit (thin Tubelok/bonded patch, a spare buckle, some Tenacious Tape) so a small tear doesn't ruin a day or a resupply plan.