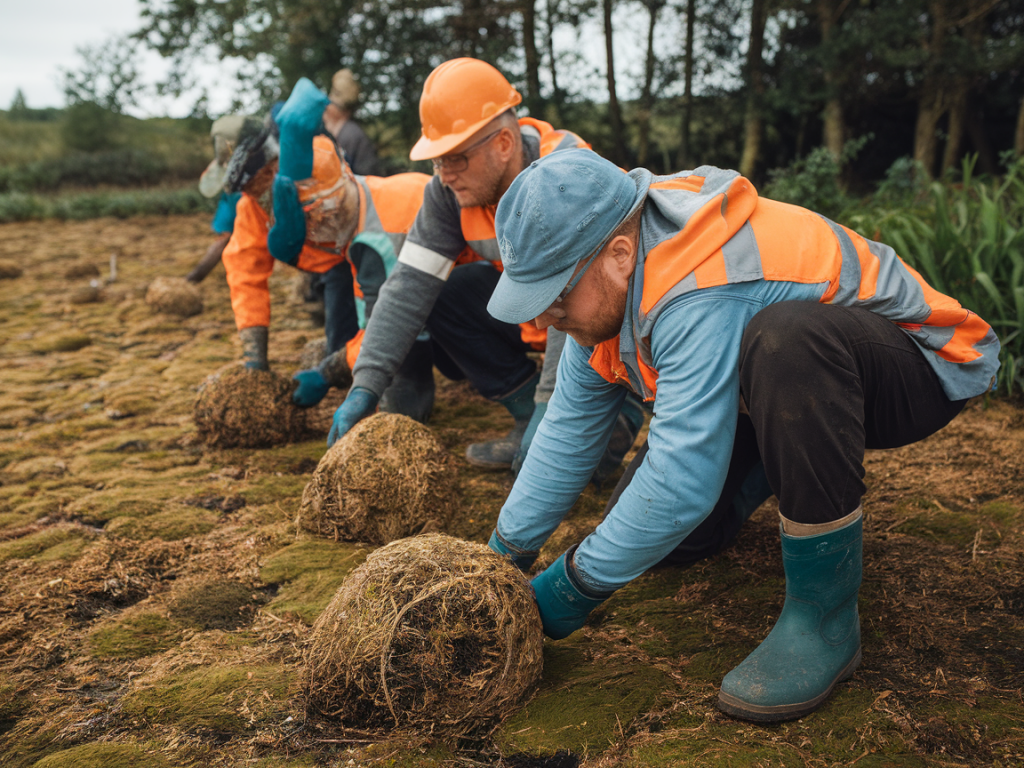
I’ve spent countless damp mornings knee-deep in peat, helping small volunteer teams plug eroded haggs and revegetate bare peat. Lightweight peatland repair plugs made from jute, coir and locally collected Sphagnum are one of the most practical, low-impact tools we use: they’re simple to assemble, transportable on foot, and, when installed correctly, give Sphagnum a fighting chance to re-establish across scoured ground. Below I’ll walk you through how I make them with a few people on site, what to watch for, and why the details — from fibre choice to biosecurity — matter.
Why use these lightweight plugs?
Peatland restoration is often a battle against exposure and erosion. Exposed peat dries out, oxidises and loses carbon; bare peat is slow to recolonise without structure and moisture retention. Lightweight plugs made from natural fibres and live Sphagnum act like tiny hummocks: they hold moisture, reduce wind scour, trap peat dust and create micro-sites where Sphagnum can grow. They’re especially useful on steep, remote gullies and paths where heavy machinery can’t reach or where we want minimal disturbance.
Materials and equipment
I keep the kit deliberately simple so teams can pack it in on rucksacks. You don’t need specialist tools — just robust, repeatable materials that will biodegrade and support regrowth.
| Item | Purpose | Notes |
|---|---|---|
| Coir or jute netting/rope | External wrap to hold plug shape | Coir (coco fibre) is rot-resistant and slightly water-retentive; jute is lighter and biodegradable sooner. |
| Coir fibre (loose) | Core filler for moisture and structure | Available as bales or mats (e.g. Habi-Protec style coir). |
| Locally-collected live Sphagnum | Main propagule source | Collect only with permission and limited amounts; handle carefully. |
| Peat crumbs (if available) | Fill voids and add native microbiota | Prefer salvaged, not fresh excavation. |
| Scissors/knife, gloves, cordage | Construction and installation | Left in the team kit; disinfect between sites. |
Permissions and ethics
Before you even gather materials, check permissions. Collecting Sphagnum without landowner and conservation consent is illegal in some places and always ethically fraught. In my work I always have written permission from the land manager or are working under a restoration project licence. When licensed, we take only small fragments from donor sites, ideally near areas already well-stocked with Sphagnum, and never from rare subspecies or vulnerable patches.
Biosecurity
Peatlands can host sensitive plant communities and pathogens. I make biosecurity routine: clean boots, disinfect tools and change gloves between sites. Use separate bags for materials from different donor locations, and avoid mixing fragments from widely separated peatlands to prevent moving microbes or non-local genotypes. A simple 1% Virkon solution or biodegradable disinfectant works for tools; wash hands and kit with hot water where possible.
Collecting and preparing Sphagnum
When I collect Sphagnum for plugs I look for healthy, springy tufts with active capitula (growing tips). Avoid brown, desiccated clumps. I usually harvest small pieces no larger than a thumb’s width from multiple donor tufts across a nearby robust lawn. This minimizes damage and spreads the impact. We transport moss in breathable bags (paper or cotton) and keep them shaded and damp.
Back at a sheltered spot, we tease apart the Sphagnum into smaller fragments — the smaller the pieces the faster they can reattach. If you can collect a little peat crumbs from the same area (surface, not deep), add a few pinches to the plug to transfer native microbes and nutrients.
Building the plug — step by step
This is the technique I use with a small team; one person can assemble a plug in under 5 minutes once practiced.
Installing plugs on site
Timing matters. I prefer to install during or just before wet weather periods so plugs can take up moisture quickly. Choose locations that intercept water flow or are likely to remain damp: the edge of a gully, the lip of an eroded tussock, or a shallow depression where water pools.
Maintenance and monitoring
One of the strengths of this approach is low maintenance, but follow-up matters. During the first year I check plugs for displacement, drying or grazing. If a plug is lost, we replace it quickly. I keep a simple record: location (GPS), date, donor site, and a photo. After two years, many plugs will have bound with neighbouring peat and show visible growth; mark successful zones and avoid trampling.
Common questions I get asked
Practical tips from the hill
Pack plugs into breathable sacks and carry them on top of a rucksack to avoid crushing. Work in small teams of 3–6: one person prepares plugs, others install — it keeps momentum and reduces time on fragile ground. Wear gaiters and long trousers to prevent moss trampling. Finally, be patient: restoration is incremental and the quiet persistence of Sphagnum is part of what makes peatlands worth saving.