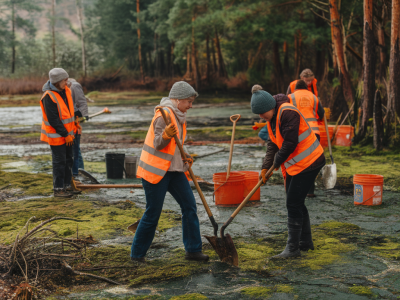
When you spend as much time on Britain's wild edges as I do, the question of what to carry for an emergency bivvy moves from theoretical to essential. Wet border hikes—sea-swept cliffs, peat-drenched moorland, and drizzle-prone coastal routes—demand kit that actually works when everything else is soggy. Over the years I've tested a range of emergency bivvies and lightweight shelters in real weather, and in this piece I’ll share what I carry, why, and how I use these tools when a planned day becomes a sticky overnight.
What I mean by "emergency bivi"
By emergency bivvy I mean a lightweight, often single-use (but sometimes reusable) shelter designed to retain heat and protect from wind and rain when you can't reach a proper camp. I include both reflective foil bivvies (sometimes called "space blankets") and more substantial ripstop nylon bivi sacks and ultralight tarps in this category. The key question is: will the item keep you alive and reasonably comfortable in the conditions you expect on Britain's wet borders?
What I test for in real-world conditions
My tests focus on three practical criteria:
- Weatherproofing: how well the shelter sheds driving rain and wind on cliff tops and exposed moorland.
- Condensation management: whether you end up in a sauna inside a reflective bag, or if the shelter allows enough ventilation to avoid wet sleeping kit.
- Packability and weight: whether it's realistic to carry alongside my navigation, clothing and camera gear for a long day out.
I've tested kit across coastal gales, post-storm swamps and lowland drizzle. The unexpected lessons are often about ergonomics: how easy is it to get into the bivvy wearing gloves? Can you operate a cord with numb hands? Does the bivvy cling to your face when the wind gusts? Those details matter when you’re wet, tired and cold.
Foil emergency bivvies: cheap, light, imperfect
The classic reflective foil bivvy—commonly sold for a few pounds under names like SOL Emergency Blanket or Storm Shelter—earns a place in my pack for their weight-to-warmth ratio. Folded small, they add essentially no weight and can turn a hypothermia risk into a survivable night.
Pros I’ve seen in the field:
- Extremely light and compact — ideal as a "last line" in a daypack.
- Reflects radiant heat back to the body — useful when you're soaked and wind-exposed.
- In some designs, reinforced edges or taped seams increase durability.
Cons and real-world caveats:
- They trap moisture. In the windless, damp shelter of a gully, condensation can make the inside clammy and wet your layers.
- Noise and flapping can be miserable in windy conditions. The foil crackles and flaps, which disrupts sleep and wastes energy keeping it under control.
- Some are single-use; they tear if you try to wriggle around or if branches snag them.
My approach: I keep a foil blanket as my compulsory lightweight emergency item, but I combine it with other shelter strategies rather than relying on it alone.
Ripstop bivvy sacks and ultralight bivis
Bivy sacks made from waterproof ripstop nylon—examples include the Rab Alpine Bivy or smaller offerings from brands like Terra Nova—offer a more usable night under real rain. They're heavier than foil but far better at keeping the elements out and managing condensation if used with some ventilation.
Why I favour them for wet border hikes:
- Durability: they survive rocks, bracken and awkward gets-in/get-out situations.
- Waterproof seams and zips on better models keep rain off your sleeping bag.
- They offer some protection for gear and camera kit too, which matters when a wet night threatens electronics.
Trade-offs: weight and bulk. On long days with lots of camera kit I still choose a compact ripstop bivvy over a full tent when I want minimal pack weight and faster setup.
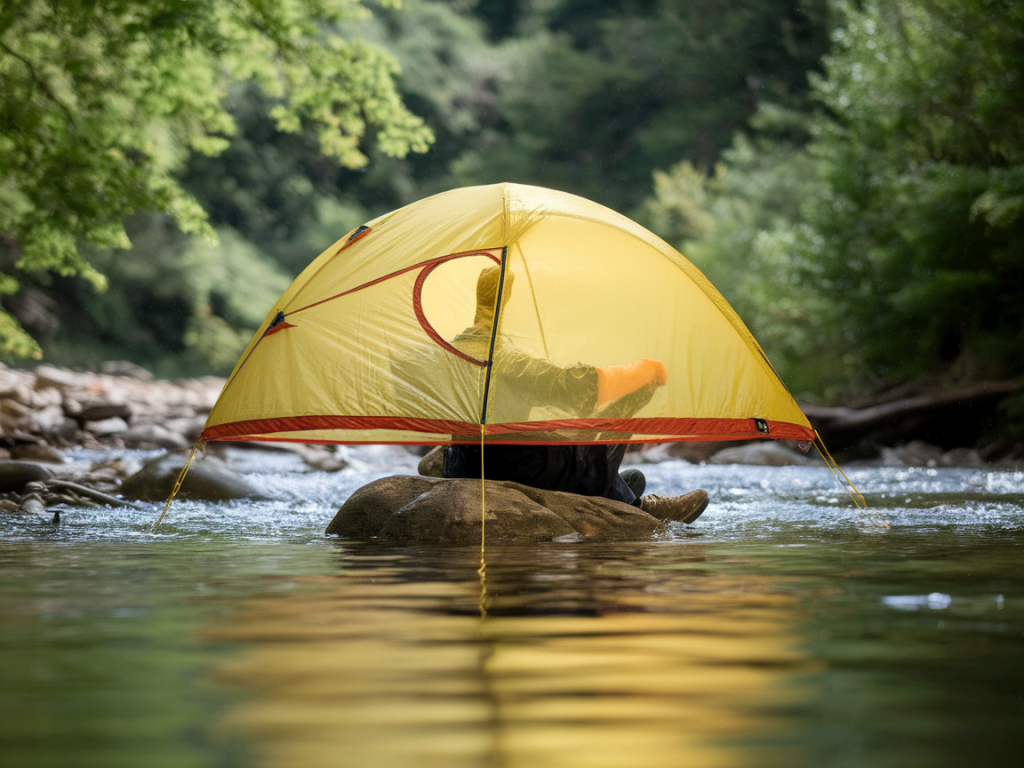
Ultralight tarps and tarptents
Tarps are invaluable when you can shelter from the worst winds behind a ridge or gorse. A simple silnylon or Dyneema tarp combined with trekking poles and a modest groundsheet makes a flexible, multi-person option. Tarptents—single-wall tarp-tent hybrids—are lighter than double-wall tents and more robust than a foil bag.
Best practice on exposed coastal routes:
- Site selection matters: find lee, avoid cliff-edge blow-through zones and peaty pools.
- Use low-angle pitching to reduce wind profile and prevent pooling of water.
- Secure every guy point; wet ground often requires buried rocks or extra cordage rather than relying on soft pegs alone.
Packing list: what I carry for a wet-border emergency bivvy
Here's the compact kit I trust for fast-moving, wet border hikes. This sits alongside my usual navigation, food and clothing systems.
| Item | Reason |
|---|---|
| Foil emergency blanket | Lightweight thermal backup |
| Ripstop bivvy or lightweight bivi sack (e.g. Outdoor Research Helium Bivy) | Real protection from sustained rain |
| Small tarp / Dyneema bivi (optional) | Flexible shelter for multiple people or gear protection |
| Silicone-treated groundsheet | Stops boggy ground soaking your sleeping bag |
| Spare dry socks and insulated hat | Heat retention critical when wet |
| Headtorch and spare batteries | Hands-free work in poor light |
| Trekking pole or lightweight cord | Useful for erecting a tarp or stabilising a bivvy |
Sheltering technique: how I actually sleep when everything's wet
Technique is as important as kit. My usual sequence when forced into a bivvy situation on a wet border hike:
- Find the best micro-site: small ridges, short turf rather than peat, lee of rocks or gorse, and always at least a few metres from cliff edges to avoid wind funnels.
- Get into dry clothes as far as possible: thermal baselayers, dry hat and socks. Wet skin and wet clothing are the biggest hypothermia risk.
- Lay down a groundsheet or a thick pack to insulate from the cold, wet ground. My rucksack stays outside the bivvy if possible, covered by the tarp.
- Pitch the bivvy or tarp with ventilation in mind. For ripstop bivvies I leave a small ventilation gap at the head end to avoid condensation pooling on my face.
- If I'm using a foil blanket, I create a small "pocket" with clothes to keep the reflective material off my face and prevent suffocating condensation build-up.
- Keep core insulated: use a down or synthetic jacket over sleeping bag or as a top layer under the bivvy. My camera batteries go inside a chest pocket to keep them warm.
Real examples from the border
One winter evening on the Northumberland coast a mist rolled in and the path turned into a sluice of peat and water. My group elected to bivvy rather than attempt a navigationally-challenging descent. We used a tarp pitched between two low hummocks, sleeping bags inside a shared ripstop bivvy and a foil blanket for extra radiant heat. The site choice—partial lee and raised turf—made the difference. Everyone stayed warm and dry enough to walk out the following morning.
Contrast that with a solo test on the Welsh border in summer drizzle: I tried a foil blanket stuffed into a gorse hollow. By dawn my clothes were damp from condensation. The foil had done its job against wind chill but had failed at moisture management—an important lesson to carry a more breathable bivvy for mixed conditions.