I’ve spent enough days slogging across Scottish blanket bog, lowland peat haggs and wet coastal fringes to know that choosing the right lightweight waterproof can make or break a day on the borderlands. You don’t want to carry a heavy coat that you never wear, but you also don’t want a featherlight shell that fails when the rain, wind and peat come together. Below I share how I test waterproofs in the field, what I look for in design and materials, and how I pack and layer for boggy borderline hikes so you stay dry, warm and nimble.
What I mean by “lightweight waterproof”
When I say lightweight waterproof I’m talking about garments that prioritise low weight and packability without sacrificing meaningful weather protection. That usually means shells in the 200–500g range for jackets, and similarly pared-back overtrousers. These are not heavyweight insulated parkas or heavy expedition shells. For Britain’s borderlands I typically reach for a two-layer or light three-layer hardshell with a reliable membrane (e.g. Gore-Tex, eVent, or well-proven proprietary membranes) or a robust waterproof fabric with good DWR (durable water repellent).
Field tests I use — the real conditions that matter
Lab waterproof ratings (mm hydrostatic head) are useful but they don’t always predict performance when you’re sitting on wet peat, wriggling through gorse or carrying a heavy pack. My tests focus on:
I’ll wear a waterproof for several consecutive days, simulate steep ascents and descents, brush past heather and gorse, and deliberately sit on damp peat to see if water soaks through seams or hem. The pockets also get tested: do they accept wet hands? Can you access map and compass without exposing core layers to rain?
Key features I won’t compromise on
Some features are non-negotiable for boggy border hikes:
Shell vs rain jacket vs overtrousers — how I choose
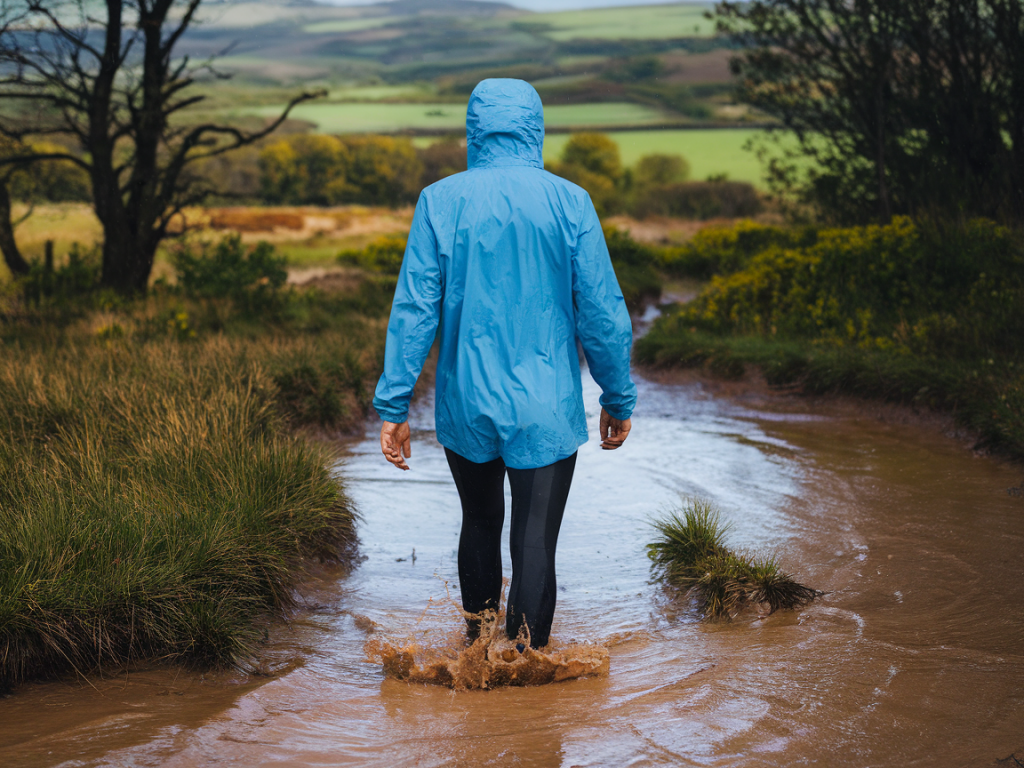
For most border hikes I favour a light hardshell jacket paired with lightweight overtrousers. The jacket gives core weather protection while trousers protect against bog-splash and stream crossings.
If I’m travelling ultralight and confident of short showers, I’ll sometimes choose a breathable rain jacket (lighter, with less reinforcement) and accept that I may get damp lower legs. For long days in persistent rain I always pack overtrousers.
Fit and layering — the practical balance
Fit is about mobility and layering. A jacket that’s too slim will limit movement and won’t comfortably accommodate an insulating mid-layer. Too roomy, and you trap cold air and add wind flapping. I aim for a fit that allows a fleece mid-layer and a thin puffy when needed, but not so much that the jacket flaps at speed.
Overtrousers should be roomy enough to zip over gaiters and waterproof socks if needed, but not so wide that they catch on bracken. Adjustable ankles and robust lower leg fabrics are important where twig and wire are common.
Care and DWR — keeping performance up
No waterproof stays perfect forever. DWR coatings wear off; dirt clogs fibres. I clean shells with a wash specially formulated for waterproof gear (Nikwax Tech Wash or Grangers Performance Wash), then reapply a spray-on or wash-in DWR every few months of use. A well-treated shell beads water and prevents saturation of the face fabric, which helps breathability and weight.
Packing tips for boggy border hikes
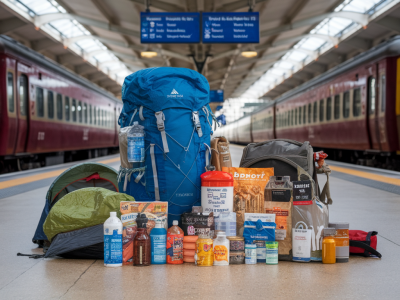
How you pack matters as much as what you pack. A wet inner pack can ruin insulation.
Real-world product notes
From experience on border hikes:
Choosing the best lightweight waterproof for boggy border hikes comes down to honest field testing: abrasion, ventilation, hood design and real wet-weather use. Invest in a decent shell and overtrousers, look after their DWR, and pack them where you can reach them quickly. With the right combination you’ll stay dry, nimble and able to pay attention to the small signs of the landscape — the tracks in the peat, the water-streaks on cliff faces, and the birds that come close after a downpour.