I’ve spent many mornings standing on Solway Firth’s sands watching tide lines retreat and return, learning the rhythms that make this coastline beautiful — and potentially dangerous. Planning a safe coastal crossing here starts with one thing: understanding the tide timetable and how it translates to the ground beneath your boots. In this guide I’ll walk you through how to read a tidal timetable, interpret local hazards like quicksand, tidal bores and shifting channels, and plan a crossing that keeps you comfortable and confident.
Why tidal timetables matter for the Solway
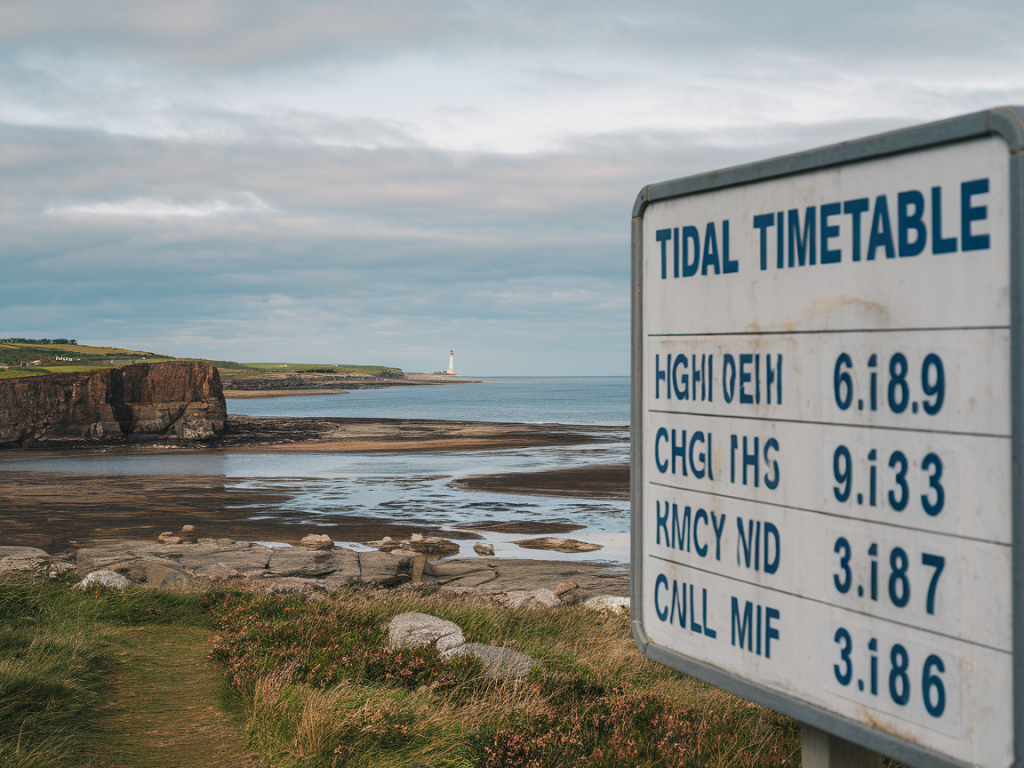
The Solway Firth is tidal, wide and shallow. Large areas of sand and mud are exposed at low water but can be reclaimed by a fast-moving tide in a short time. A tidal timetable gives you the official times of high and low water at a particular port or datum — but it’s not the whole story. You also need to consider tidal range, local currents, wind, recent weather and the topography of the beach or estuary you’re crossing.
What a tidal timetable shows and how to read it
A typical tidal timetable (from the UK Hydrographic Office or port websites) lists times and heights of high water and low water for a named port on a given date. Here’s how I read one:
Translate timetable to the crossing
Knowing the published times is step one. Step two is translating that into a safe time window on the ground. I work with three simple rules:
Local features to watch for on the Solway
The Solway’s character changes by spot. Here are hazards I always check on route-planning:
Practical planning checklist
Before I set out I run through this checklist and either print or save the details to my phone:
Using a sample timetable
Here’s a simplified example of the kind of table I’ll set up mentally when planning. This is illustrative — always use official timetables for real times.
| Port | Low Water | High Water | Tide Height (m) |
|---|---|---|---|
| Silloth | 09:12 | 15:34 | 6.2 (spring) |
| Workington | 09:45 | 16:05 | 5.8 (spring) |
From this I’d work out a safe crossing slot. If low water is around 09:12, I’d aim to start my crossing after about 10:00 to let channels settle, and ensure I’m off the exposed flats by 13:00–13:30 to give a comfortable margin before the rising tide and the high at 15:34.
On-the-ground navigation and signs
Tide timetables are a plan; the shore tells you whether it’s working. I always look for these signs:
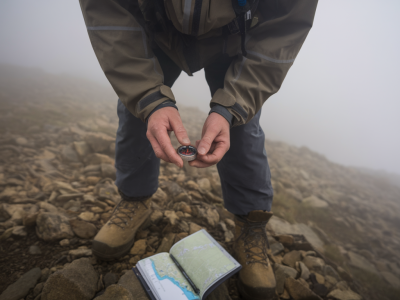
Equipment choices that matter
I favour practical kit for Solway crossings. A waterproof jacket (e.g. Patagonia Torrentshell), breathable trousers, gaiters and boots with good ankle support are essential. A lightweight throw bag or 10–15m rope strapped in your pack gives you an option to belay someone across a channel. My camera lives in a dry bag; saltwater kills electronics fast.
When in doubt, turn back
There’s no prize for stubbornness. If channels look deeper than expected, the wind has strengthened, or you misjudge timing — retreat and reassess. It’s far better to take a longer route or wait for the tide to drop again than to contend with an incoming Solway flood on soft mud. I usually record my planned return time with a friend and carry a personal locator beacon or phone with no-dead-zone coverage where possible.
Reading tidal timetables is a skill that improves with practice. Learn the local quirks of the Solway, plan conservatively, carry the right kit and listen to the land and sea underfoot — the tide will often tell you what the timetable only hints at.