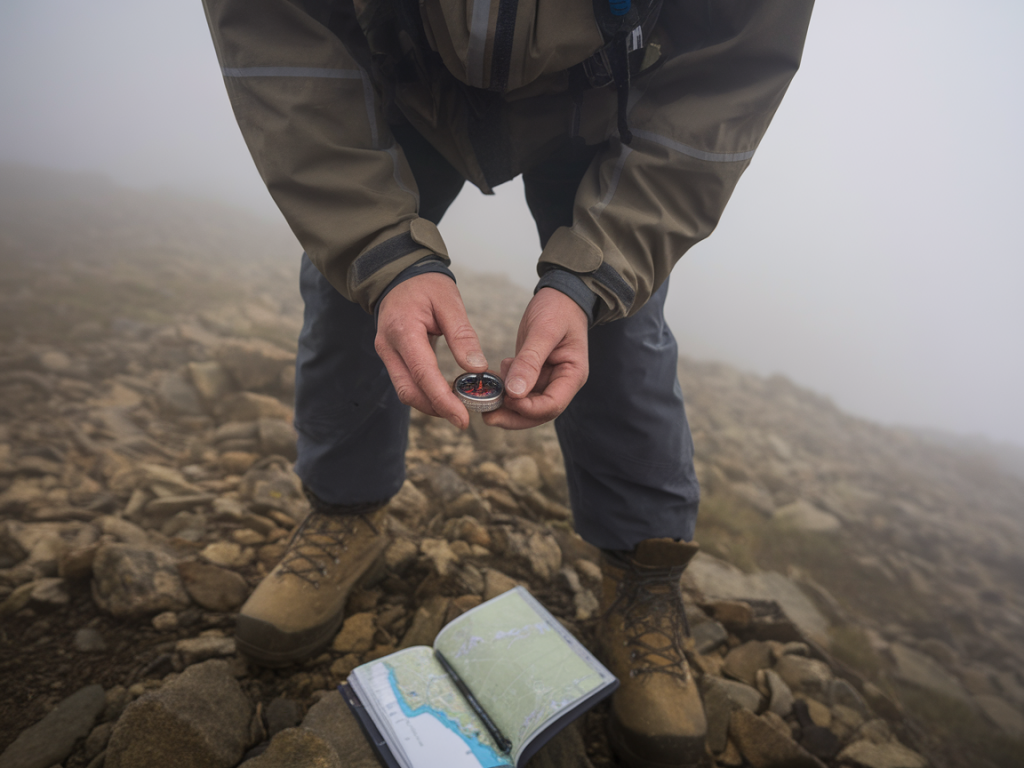
Fog on a border ridge is a peculiar thing: it swallows the crags I know by heart, turns fences into ghost-lines and reduces the coastline to a memory. I've learned that the moments when visibility collapses are exactly when a compass and an Ordnance Survey map become not just useful, but indispensable. This guide walks through how I use a compass and OS map together on upland border routes when the world goes white. It's practical, pared-back and written from walks where the only things I could trust were the needle and the printed contours beneath my thumb.
What you need with you
Before fog arrives, make sure you have the essentials. I never set off on a border ridge without:
An Ordnance Survey map (1:25,000 Explorer for detailed contours or 1:50,000 Landranger for broader planning)A reliable compass with a rotating bezel (Silva, Suunto and Brunton are brands I've used)A GPS as backup (Garmin eTrex or a smartphone with OS Maps — but batteries can die, so don't rely solely on them)Whistle, headtorch, spare layers and a simple bivvy or survival bagWhen fog rolls in, my priority is to slow down, stop moving fast and use map and compass deliberately rather than improvising. I find a steady pace and careful checking every few minutes prevents small errors from becoming big ones.
Basic compass-map skills you must have
If you learn nothing else, make sure you can:
Orient the map to magnetic north using your compassTake a bearing from the map and follow it on the groundTake a bearing to a distant feature and plot that line on the mapI won't repeat every basic instruction here, but if you need a refresher: align the direction of travel arrow with the route between two points on the map, rotate the bezel until the map's north lines match the orienting lines, then hold the compass level and rotate your body until the needle sits in the orienting arrow — now walk on the direction of travel arrow.
Step-by-step when fog closes in
Here's the stepwise routine I use the moment visibility drops below about 50–100 metres:
Stop and breathe: Put on a warm layer and a hat if needed. Take a sip of water. Panic makes you move too quickly — the best navigational decisions come from a calm head.Set a visible point on the map: I identify my current location using obvious features that still read on the map — a fence corner, a cairn, a wall junction or a burn. If nothing is visible, I use pacing and estimated distance from my last reliable point.Orient the map: Place the map flat (or hold it) and use the compass to rotate the map to magnetic north. This simple habit makes reading the relationship between contours and compass bearings much more intuitive in whiteout.Decide on your objective: Choose a realistic, safe goal — a nearby shelter, a fence line to follow, or the closest low-lying ground. In border uplands, heading down to lower ground or to a known track is often safer than pushing for a summit you can't see.Take a bearing from map to target: With map oriented, place the compass between your location and the target. Turn the bezel to set the bearing, account for magnetic variation if needed (most OS maps are grid north; check the map margin for conversion), then set the compass to track that bearing on the ground.Use attack points and handrails: I prefer routes that use 'handrails' (linear features like walls, rivers or tracks) and 'attack points' (distinctive nearby features you can aim for). A dry stone wall running below the ridge is a perfect handrail in fog — follow it to your map-identified exit point.Walk in short legs and re-check: I set a comfortable walking pace and take short legs — typically 200–400 metres — then stop, confirm my bearing and check the map and terrain. This minimizes cumulative error.Techniques I rely on
Over years of ridge walking I've built a small toolkit of methods that work well in whiteout:
Back-bearing discipline: Always keep a back-bearing memorised or noted. If I follow a bearing away from my starting point, I store the reciprocal bearing. If I need to retrace my steps I can use it to return without reorienting the map.Offsetting for ridgelines: When the direct bearing would take me over hazardous ground (cliffs or steep peat), I pick an offset bearing that hits a safe handrail, then follow that line to a deliberate attack point where conditions are safer.Using contours as a cross-check: The spacing and shape of contours are often the most reliable sense-check in fog. If you expect a shallow scree slope but the next contour on the map shows a steep drop, stop and reassess — your map is telling you something about what you're walking into.Pacing and timing: Learn your stride length and use it. There's nothing more humbling than thinking you're 200m from a fence only to find it's twice that. Count paces on each leg so your estimate of distance is grounded in reality.When to abandon the ridge
Knowing when to stop and descend is key. I choose the easier, safer option rather than forcing the route. Consider descending when:
You're uncertain of your location after repeated checksThe weather shows no sign of improvement and you have limited daylightGround becomes steeper or more complex than your route can safely handle in fogDrop to a known track or lower elevation where the terrain is simpler and visibility is less critical. Walking below the cloud base often restores visual cues and reduces risk.
Common mistakes and how I avoid them
Here are errors I've seen (and made) — and my practical fixes:
Relying solely on GPS: Electronic devices are brilliant, but batteries fail. I treat GPS as a secondary check, not the primary tool.Overconfidence in memory: It's easy to think you know the ridge like the back of your hand. I refresh my map reading at every stop — tactile confirmation beats memory in poor conditions.Marching on without checking: Repeating this because it's important: stop regularly and check orientation, bearing and estimated distance. Small pauses prevent navigational drift.Useful items to keep on-hand
| Item | Why I carry it |
|---|
| Compass (rotating bezel) | Primary navigation tool in low visibility |
| OS Map (waterproof sleeve) | Easier to read and protected from weather |
| Whistle & headtorch | Signalling and light if you bivouac |
| Small notebook & pencil | Record bearings or sketch features |
| Bivvy bag | Emergency shelter if you can't descend |
Final practical tips from the border
On the upland borders I walk, fog is rarely a brief inconvenience; it can be a long, pace-slowing companion. My best walks are the ones where I pause to listen to the landscape — the wind in the heather, the drip of water from grass — and use the silence to check my map and compass. Practice these skills on clear days so they become automatic. And when you're planning: tell someone your intended route, leave a clear ETA, and plan options to get down to lower ground. Navigation in fog is methodical, not heroic — the compass and map are instruments of sensible choices, not bravery.